Frequently Asked Question
3.7.1 Select the “Student Management” menu within the navigation bar.
3.7.2 Centre list will be displayed here, click on desired centre code.
3.7.3 Click on "Student Attendance".
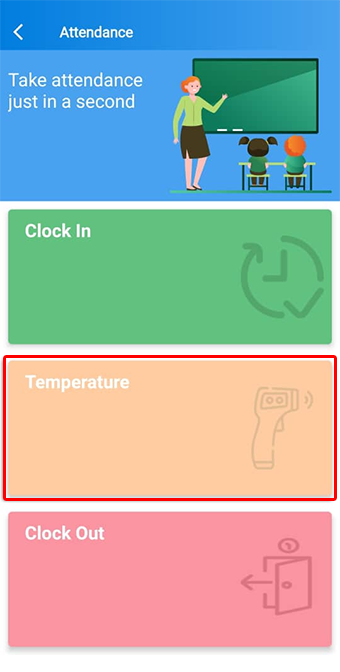
3.7.4: In the popup screen, tap on the Temperature option.
3.7.5: Select the Normal option.
3.7.6: You will be allowed to filter out student results based on various criterias.
3.7.7: Tap on the Temperature button to insert the student’s temperature.
3.7.8: Scan the student’s temperature and depending on your bluetooth connection, you would need to enter the temperature manually or automatically.
3.7.9: Tap on the Next button when done.
3.7.10: You will then be redirected to a camera where you will be required to take a photo of the child.
3.7.11: After taking a photo of the child, proceed to tap on the Tick icon located on the upper right corner of the screen.
3.7.12: Enter any remarks available in the Health Record textbox. Click on “Done” when you’re ready.