Frequently Asked Question
8.1: Log into the new branch of the CM Portal.
Login using your username and password.
8.2: First of all, please click on the menu displayed on the upper-left corner of the screen.

8.3: Select the Students menu.

8.4: As usual with previous modules, students can be managed by enrolling them into a centre. The list of students along with their details will be displayed on the screen.
1.11.4: Create a new student profile by tapping on the “New Student Enrollment” button to create a new student profile.
8.5: FIll in the IC/Passport into the “IC/Passport” area in order to fill in the other details. If the student’s IC/Passport already exists in another branch. The system will automatically generate the student’s info into every textfield.
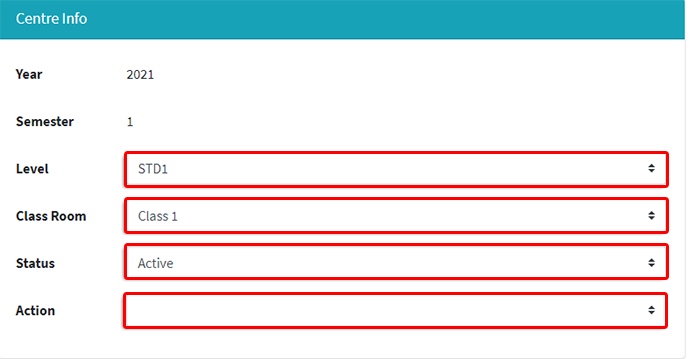
8.6: Although the system will fill in the student’s info automatically, you still need to set the new centre info by selecting the new level and classroom for the children.
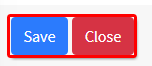
8.7: Tap on the “Save” button to save the student’s information in the new branch.
8.8: After you have saved the student’s information in the new branch, go back to the old branch of the student to remove the student’s information.